
With an automatic drip machine, some things are decided by the machine and some are decided by you. The machine sets the water temperature, how the water is spread over the grounds, and how long the brew takes. You decide the coffee, the dose, the grind, the water, and how clean the machine is. This guide separates the two: first what a good brewer is expected to do, so you know what to look for, then the practical changes that make the biggest difference with the machine you already have.
If you are still deciding between drip and manual brewing, see drip coffee maker vs. pour-over.
What the Machine Controls: The Technical Benchmarks
The Specialty Coffee Association (SCA) certifies home brewers through testing at the European Coffee Brewing Centre (ECBC). The ECBC’s published criteria for filter brewers give a useful picture of what “brewing properly” means in measurable terms:
| What is tested | Requirement | What it means at home |
|---|---|---|
| Brewing temperature | Reach 92°C within the first minute, stay between 92 and 96°C, never exceed 96°C | Cooler water extracts more slowly; you cannot adjust this on most machines |
| Test brew time | Grind chosen for brew times of 4 to 6 minutes | A full pot that takes far longer may point to scale buildup or too fine a grind |
| Holding | Coffee kept no lower than 80°C for the first 30 minutes, without the heater raising its temperature | A good warmer keeps coffee hot without cooking it further |
| Volume markings | Within 5% of the marked capacity; 250 ml units recommended for home brewers | “Cups” are not a standard unit, so check what your markings hold |
| Test ratio | At least 60 g of coffee per litre of water, against a standard of 50–60 g per litre | About 1:17 to 1:20, close to the 1:16–1:18 range in our ratio guide |
These are certification thresholds, not a description of every machine. Many uncertified brewers are never tested against them, and some older or basic models may not reach the same temperature or spread water as evenly. If you are buying a new machine, the SCA certification mark is a shortcut to one that has been tested. Our guide to water temperature explains why the 92–96°C range is used.
What You Control: Practical Changes That Help
The suggestions below are practical habits rather than measured rules. Change one at a time so you can tell which ones make a difference with your machine.
1. Weigh the Coffee and Check the Water Markings
A scoop holds a different weight of coffee depending on the roast and grind, so weighing the dose is the easiest way to get the same pot every day. Start around 1:16 to 1:17, for example 30 g of coffee for 500 g of water, and adjust to taste.
Reservoir markings are often labelled in “cups”, which are not a standard measure. Measure once what the marks on your machine actually hold; our coffee scale guide shows a simple way to do it. Also remember that some of the water stays in the wet grounds, so the carafe holds less than you poured into the reservoir.
2. Match the Grind to the Basket
- Flat-bottom basket: start at a medium grind.
- Cone basket: start at medium to medium-fine.
If the coffee tastes thin or sharp, go slightly finer. If it tastes harsh or bitter, or the basket comes close to overflowing, go slightly coarser. Grinder settings are not standardized, so judge by the result rather than the number on the dial; the grind size chart describes what each grind looks like. Grinding just before brewing helps if you have a grinder (see how to choose a coffee grinder); if you buy pre-ground, store it well and use it soon.
3. Start With Coffee and Water You Would Enjoy on Their Own
Coffee is mostly water, so a strong chlorine or mineral taste in your tap water can carry into the cup. If your water tastes unpleasant by itself, filtered water is worth trying. Very hard water also builds up scale faster inside the machine. More detail is in does water matter for coffee? For the beans themselves, see how to buy coffee beans.
4. Rinse the Filter, Warm the Carafe, Level the Bed
These three small steps take less than a minute together:
- Put the paper filter in the basket and pour or run hot water through it to reduce any papery taste. Discard the water.
- If you have a glass carafe, let some of that hot water sit in it briefly so the cold glass does not take heat from the first coffee. Thermal carafes are designed differently, so follow their instructions.
- Add the coffee and give the basket a gentle shake so the grounds sit level. Do not press them down.
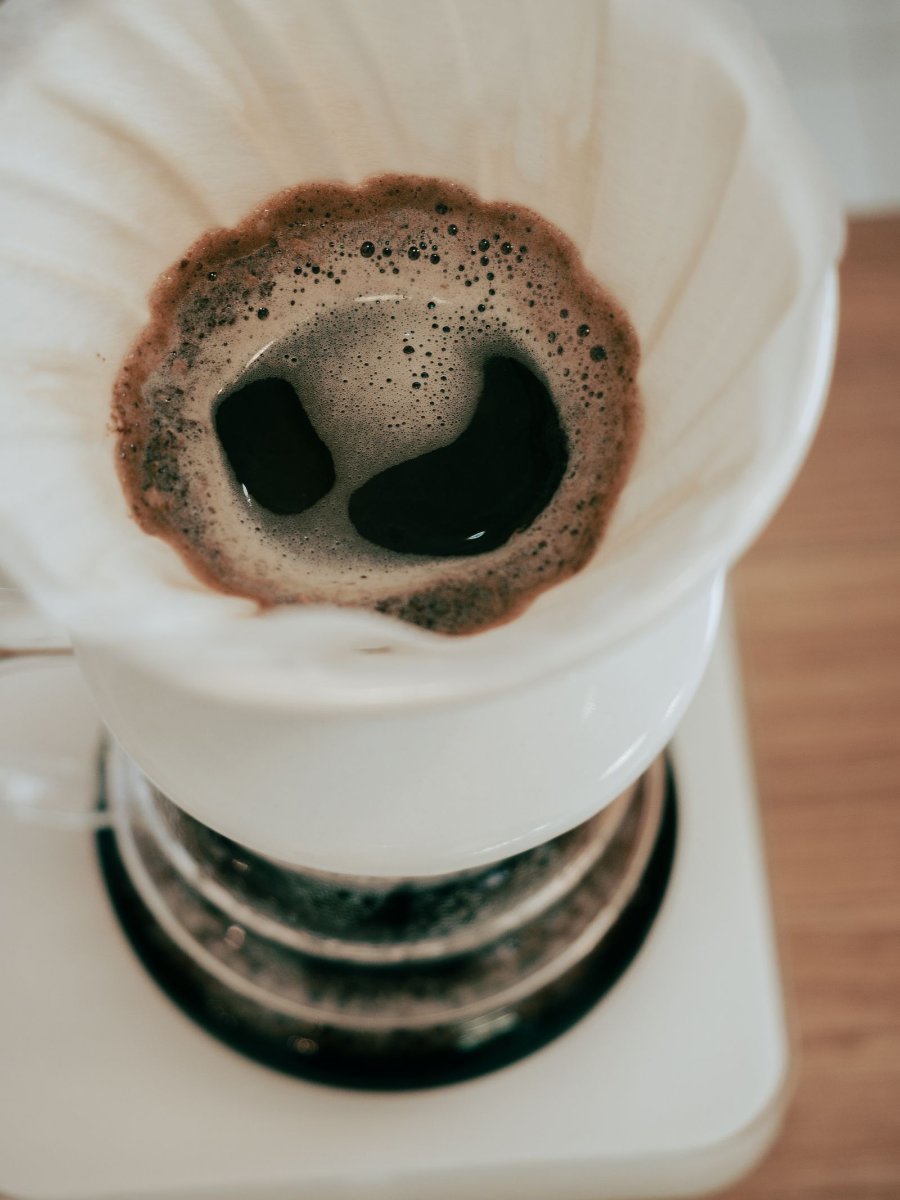
Leveling cannot fix a machine whose sprayhead drips water in one spot, but it gives the water an even bed to start with.
Cleaning and Descaling: Follow Your Manual
Washing and descaling are different jobs. Washing the basket and carafe removes coffee oils and residue; descaling removes mineral deposits that build up inside the heating system, which can affect how well the machine heats and delivers water. Plain water does not remove scale.
How often and with what depends on the manufacturer, and their advice differs:
- Moccamaster recommends descaling about every 100 brews, more often with hard water, using a commercial descaling powder. It advises against vinegar, saying it is not strong enough and can leave an odor and aftertaste.
- Mr. Coffee recommends a deep clean once a month with a mix of about one part white vinegar to two parts water, followed by two plain-water brews.
Because the advice conflicts, use the method in your own machine’s manual. Our cleaning guide covers the routine for the removable parts.
After the Brew
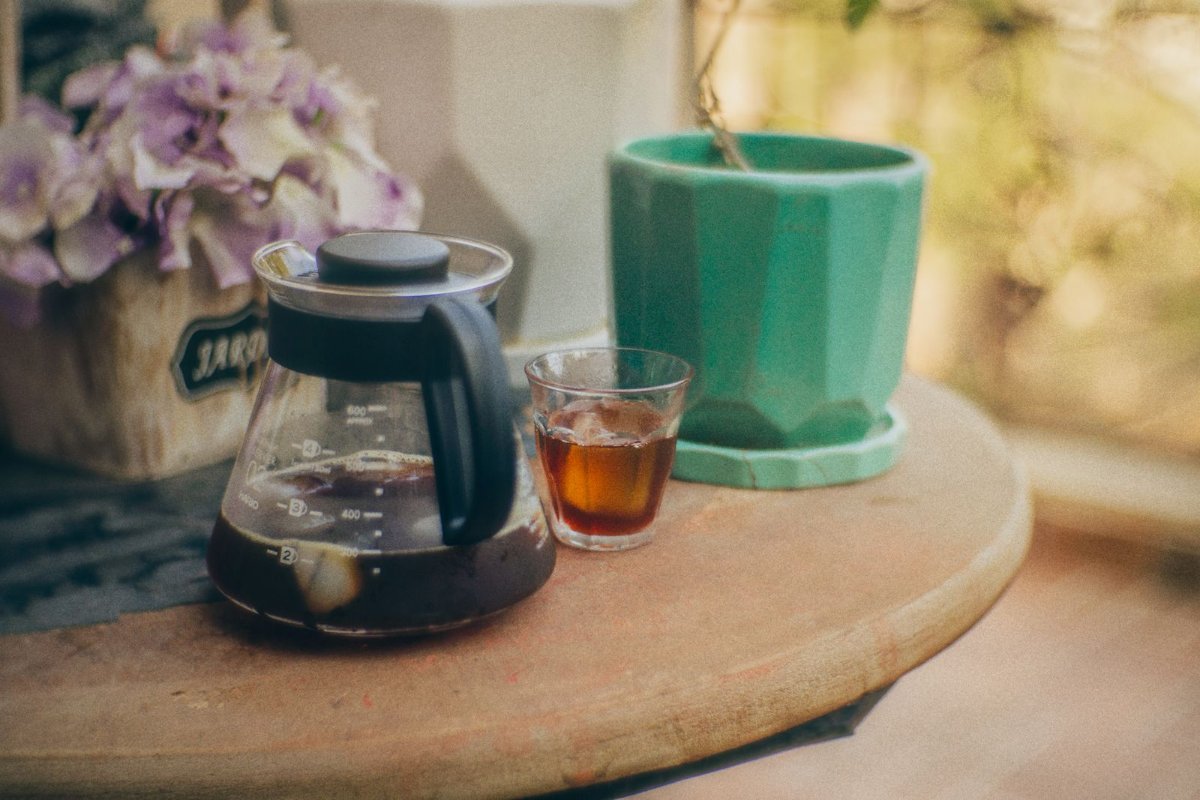
- Give the carafe a gentle stir before pouring the first cup, so every cup gets similar coffee.
- Don’t leave the pot on the warmer for long. Coffee kept on a heated plate keeps changing and can taste harsher the longer it sits. If you won’t finish it soon, pour it into a thermal carafe or brew a smaller batch. There is no fixed time limit; it depends on the coffee and the warmer.
- Handle the carafe and plate carefully; both stay hot after the brew ends.
Troubleshooting
| Problem | Likely cause | What to try |
|---|---|---|
| Weak or watery | Too little coffee or grind too coarse | Add coffee or grind slightly finer |
| Sour or sharp | Under-extraction | Grind slightly finer; check the machine is descaled |
| Bitter or harsh | Over-extraction, a very dark roast, or long holding on the warmer | Grind slightly coarser; serve sooner |
| Flat or dull | Stale coffee or poor water | Use fresher coffee; taste your water |
| Papery taste | Paper filter | Rinse the filter first |
| Basket overflows | Grind too fine or too much coffee for the basket | Grind coarser or reduce the dose |
| Brews much more slowly than before | Mineral scale | Descale as the manual directs |
| Different every day | Dose, grind, or water changing | Weigh coffee and water; keep the grind the same |
For more on taste problems, see bitter vs. sour coffee and why grind size matters; other habits worth checking are in common coffee brewing mistakes. If you have worked through all of these and the coffee is still thin, the machine itself may not reach a good brewing temperature, which technique cannot fix.
Sources
- Specialty Coffee Association. Certified Home Equipment. Source for SCA certification and testing at the ECBC.
- European Coffee Brewing Centre. Certification standards. Source for the temperature, brew time, holding, volume marking, and ratio criteria.
- Moccamaster. How to descale your Moccamaster coffee brewer. Source for the 100-brew interval and the advice against vinegar.
- Mr. Coffee. How to clean a coffee maker the easy way. Source for the monthly vinegar cleaning routine.
