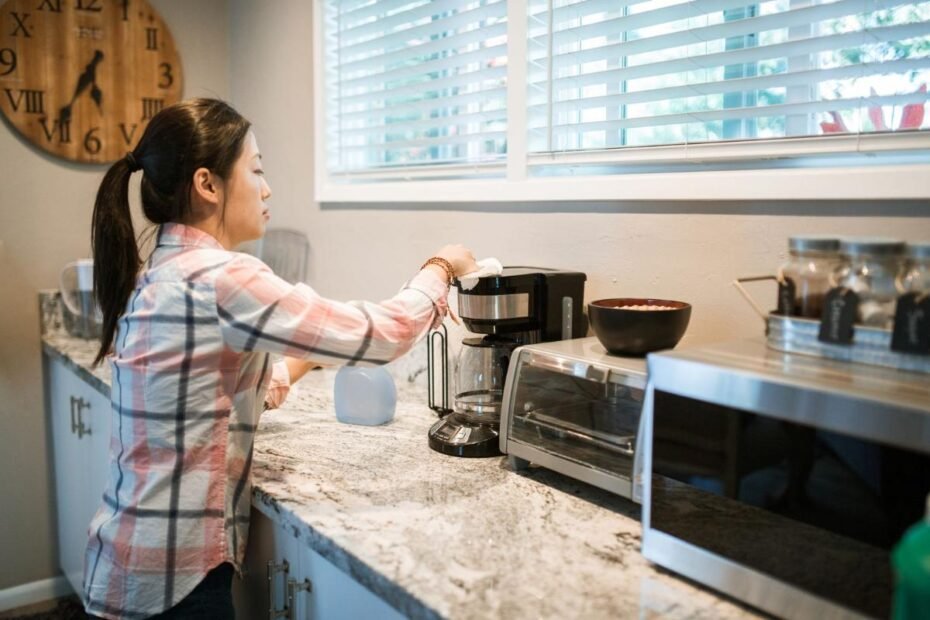
If your coffee has started tasting a little stale, bitter, or just different from usual, your equipment might be part of the problem. Coffee oils and fine grounds gradually build up inside brewers and grinders, and simply rinsing everything with water doesn’t always remove them. The good news is that regular cleaning doesn’t have to be complicated. In this guide, you’ll learn how to clean common coffee makers and grinders properly, how often to do it, and which parts need a little extra attention.
Why Cleaning Your Coffee Equipment Matters
Every time you brew coffee, a small amount of coffee residue is left behind. Oils from the beans can stick to brewing surfaces, while tiny particles can collect around filters, baskets, burrs, chutes, and other parts of the equipment. Over time, those residues can affect the flavor of a fresh batch of coffee.
Cleaning also helps your equipment work more consistently. A grinder with old grounds trapped inside may produce a mixture of fresh and stale particles, while a coffee maker with mineral buildup can take longer to heat water or brew properly.
You don’t need to deep-clean everything after every cup. A simple routine works much better:
- After each use: remove used grounds and rinse removable parts.
- Every few days: wipe down surfaces and check for trapped grounds.
- Every 1–2 weeks: give the grinder and brewer a more thorough cleaning, depending on how often you use them.
- Every 1–3 months: descale a coffee maker if your machine and water conditions call for it.
If you use your equipment several times a day, you may need to clean it more frequently. The more coffee you brew, the faster oils and grounds accumulate.
How to Clean a Coffee Maker Properly
The exact cleaning process depends on your coffee maker. A drip machine, pod machine, moka pot, and espresso machine all have different parts and maintenance requirements, so always follow the manufacturer’s instructions for anything involving internal components. For a standard drip coffee maker, the basic process is straightforward.
1. Empty and rinse the removable parts
Start by switching off and unplugging the machine if appropriate. Remove the filter basket, carafe, and any other removable parts.
Throw away the used coffee grounds and rinse the basket and carafe with warm water. If coffee oils have built up, add a small amount of dish soap and wash the parts thoroughly before rinsing them well. Don’t forget the area around the filter basket. Fine coffee particles can collect there even when the basket itself looks clean.
2. Wipe the machine
Use a damp cloth to wipe the outside of the coffee maker, warming plate, lid, and areas around the water reservoir. If there are coffee splashes or dried residue, a little mild dish soap on the cloth can help. Avoid pouring water directly over the machine or immersing electrical components.
3. Clean the water reservoir
If the reservoir is removable, wash it according to the manufacturer’s instructions. Rinse it thoroughly afterward so there’s no soap residue left behind. For machines with a fixed reservoir, follow the manufacturer’s recommended cleaning method. Some models have specific cleaning cycles or cleaning products designed for their internal water system.
4. Run a cleaning or descaling cycle when needed
Minerals from water can gradually accumulate inside a coffee maker. This is called scale, and it’s particularly noticeable if you use hard water.
Many coffee makers have a dedicated descaling or cleaning cycle. If yours does, use the product and instructions recommended by the manufacturer rather than guessing at the amount or concentration. After descaling, run the required number of fresh-water cycles specified by the manufacturer. You want the machine to be completely free of the cleaning solution before making coffee again.
How to Clean a Coffee Grinder
Grinders need a slightly different approach because coffee grounds can get trapped in places you can’t easily see. Whether you use a burr grinder or another type of grinder, start by checking the manufacturer’s instructions before removing burrs or other components.
1. Empty the hopper
Remove any remaining coffee beans from the hopper. Don’t simply leave them sitting there while you clean around them, especially if the grinder won’t be used again for several days.
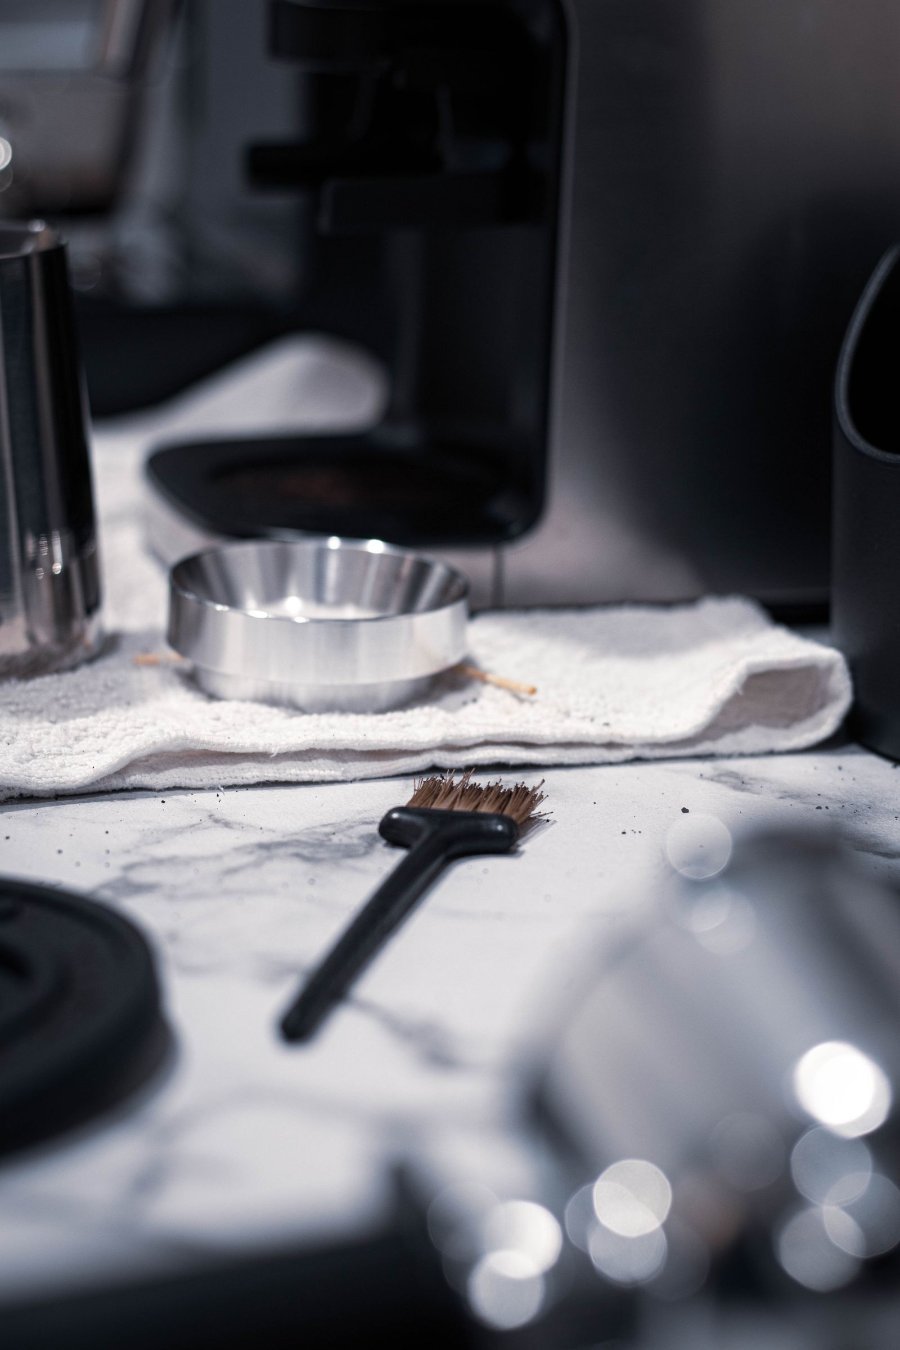
Turn the grinder off and unplug it before cleaning removable parts. Use a dry cloth or soft brush to remove loose coffee particles from the hopper and surrounding area.
2. Brush out loose grounds
A small grinder brush works well for removing coffee particles around the burrs, chute, and other accessible areas. Work gently. There’s no need to scrub aggressively, and you don’t want to damage delicate components.
Pay particular attention to the grounds chute. Old coffee can accumulate there and eventually restrict the flow of freshly ground coffee.
3. Clean the burrs according to the manufacturer’s instructions
Many burr grinders allow the upper burr to be removed for cleaning. If yours does, remove it only if the manufacturer says it’s designed to be removed by the user.
Use a soft brush to loosen trapped grounds. A handheld air blower designed for cleaning electronics or camera equipment can sometimes help with loose particles, but avoid forcing debris deeper into the grinder. For removable parts that are specifically marked as washable, clean them according to the manufacturer’s instructions and allow them to dry completely before putting them back.
4. Don’t wash the grinder’s electrical components
This sounds obvious, but it’s an easy mistake to make when you’re trying to clean everything thoroughly. Water shouldn’t be poured into the grinder body or used on electrical components unless the manufacturer explicitly says otherwise. For most grinders, dry brushing and wiping are the safer approach.
If you’re unsure whether a particular part can be washed, check the manual before putting it under the tap.
How Often Should You Clean Your Coffee Maker and Grinder?
There’s no single schedule that works for everyone. A person making one coffee every morning doesn’t need exactly the same routine as someone grinding and brewing six times a day. A useful starting point looks like this:
| Equipment | Basic cleaning | Deeper cleaning |
|---|---|---|
| Drip coffee maker | After each use | Every 1–3 months or as recommended |
| Coffee grinder | Brush out regularly | Every 1–2 weeks or as needed |
| Moka pot | Rinse after use | Thorough inspection and cleaning regularly |
| French press | Rinse after every brew | Wash all parts thoroughly every few uses |
| Espresso machine | Flush and wipe after use | Follow manufacturer’s maintenance schedule |
The grinder may need more frequent attention if you use oily dark-roasted beans. Those beans can leave more visible residue inside some grinders than drier-looking light or medium roasts.
Your water also makes a difference. If you’re using water that leaves noticeable mineral deposits on kettles or faucets, your coffee maker may need descaling more frequently.
Common Coffee Equipment Cleaning Mistakes
Cleaning is simple, but there are a few mistakes worth avoiding.
Using too much soap
More soap doesn’t necessarily mean cleaner equipment. A small amount of mild dish soap is usually enough for washable parts, followed by a thorough rinse. Soap residue can affect the next batch of coffee, so don’t rush the rinsing step.
Putting everything underwater
Not every coffee component is washable. Electrical parts, motors, and certain grinder components should stay dry unless the manufacturer specifically states otherwise. When in doubt, check the manual.
Cleaning only what you can see
A coffee maker carafe may look spotless while residue is building around the filter basket. A grinder hopper may look clean while old grounds are sitting around the burrs and chute. Take a few extra minutes to inspect the less obvious areas.
Ignoring mineral buildup
Washing removable parts doesn’t remove scale from the internal water system of a coffee maker. That’s why descaling is a separate part of equipment maintenance. If your machine recommends a specific descaling product or schedule, follow it rather than improvising.
Putting parts back while they’re still wet
Moisture left inside equipment can create problems, especially when coffee grounds are introduced afterward. Allow washable grinder components and removable brewer parts to dry completely before reassembling them.
A Simple Coffee Cleaning Routine
You don’t need to turn cleaning into a major weekend project. Breaking it into small tasks makes it much easier to keep up.
After every brew
- Remove used coffee grounds.
- Rinse the filter basket or brewing chamber.
- Rinse the carafe, French press, or moka pot.
- Wipe away obvious coffee residue.
- Empty the grinder’s grounds container when needed.
Once or twice a week
- Clean the grinder’s accessible areas with a soft brush.
- Wash removable brewer parts thoroughly.
- Check the coffee grounds chute and filter area.
- Wipe down the exterior of your equipment.
Every month or according to your machine’s instructions
- Inspect the coffee maker for mineral buildup.
- Run a recommended cleaning or descaling cycle when necessary.
- Inspect grinder burrs and other removable components.
- Check seals, gaskets, and other parts for wear.
The exact timing isn’t as important as consistency. A simple routine that you actually follow is more useful than an ambitious cleaning schedule that gets forgotten.
Frequently Asked Questions
Can I use rice to clean my coffee grinder?
It’s commonly suggested as a DIY grinder cleaner, but rice isn’t the best general-purpose choice. Hard grains can behave differently from coffee beans and may put unnecessary stress on some grinders. A soft brush and a cleaning product specifically designed for grinders are safer options when recommended by the manufacturer.
Can I wash coffee grinder burrs with water?
Only if the manufacturer says the burrs are washable. Many grinder components should be cleaned dry with a brush instead, so check the instructions for your specific model before using water.
How often should I descale my coffee maker?
It depends on the machine, how often you use it, and the mineral content of your water. Many manufacturers recommend descaling every 1–3 months, but your machine’s instructions should take priority.
Why does my coffee still taste stale after cleaning?
Old beans, stale grounds, a dirty grinder chute, or coffee oils trapped in less obvious parts of the equipment can all contribute. If the equipment is clean, try brewing with freshly roasted beans and grinding them immediately before brewing.
Should I clean my grinder after using dark roast coffee?
It can be useful to clean it more frequently if you regularly use darker or visibly oily beans. Coffee residue can accumulate around the burrs and chute, so inspect those areas regularly rather than relying only on a fixed schedule.
Do I need to clean my coffee maker after every cup?
You don’t need to perform a deep cleaning after every cup. Empty the grounds, rinse removable brewing parts, and wipe away residue after use; save descaling and deeper maintenance for a regular schedule.
Final Thoughts
Keeping your coffee maker and grinder clean doesn’t require a complicated collection of products or hours of work. A quick rinse after brewing, regular brushing of the grinder, and occasional deeper maintenance can go a long way toward keeping your equipment working consistently. Start with a simple routine that fits how often you make coffee, and always follow the manufacturer’s instructions for parts that need special care.
