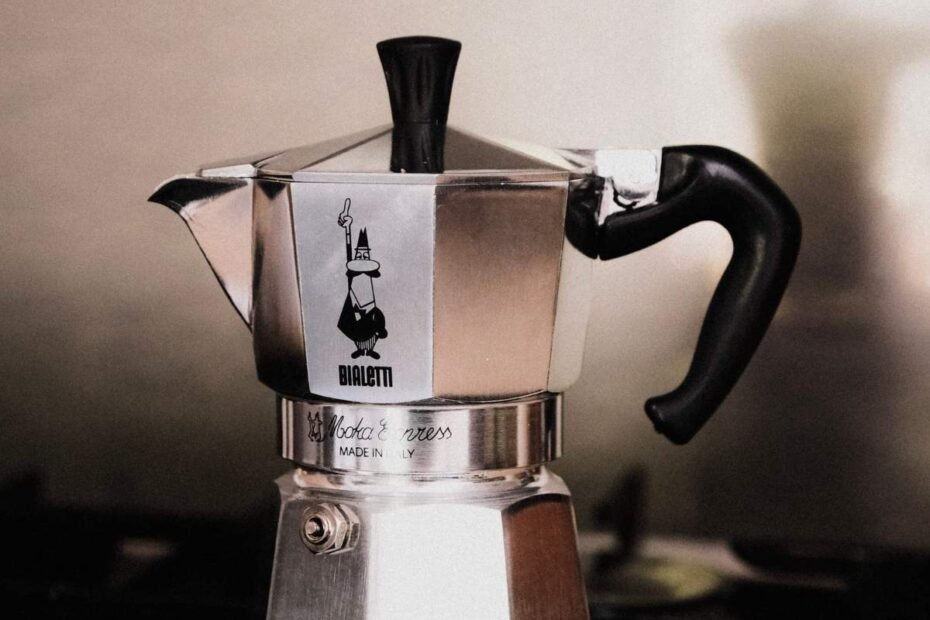
A moka pot can make a rich, concentrated coffee with nothing more than ground beans, water, and a stovetop. The process is simple, but details like grind size, water level, heat, and when you remove the pot from the burner can change the result quite a bit. Here’s how to use a moka pot from start to finish, along with practical adjustments you can make when the coffee tastes bitter, weak, or simply not quite right.
What Is a Moka Pot and How Does It Work?
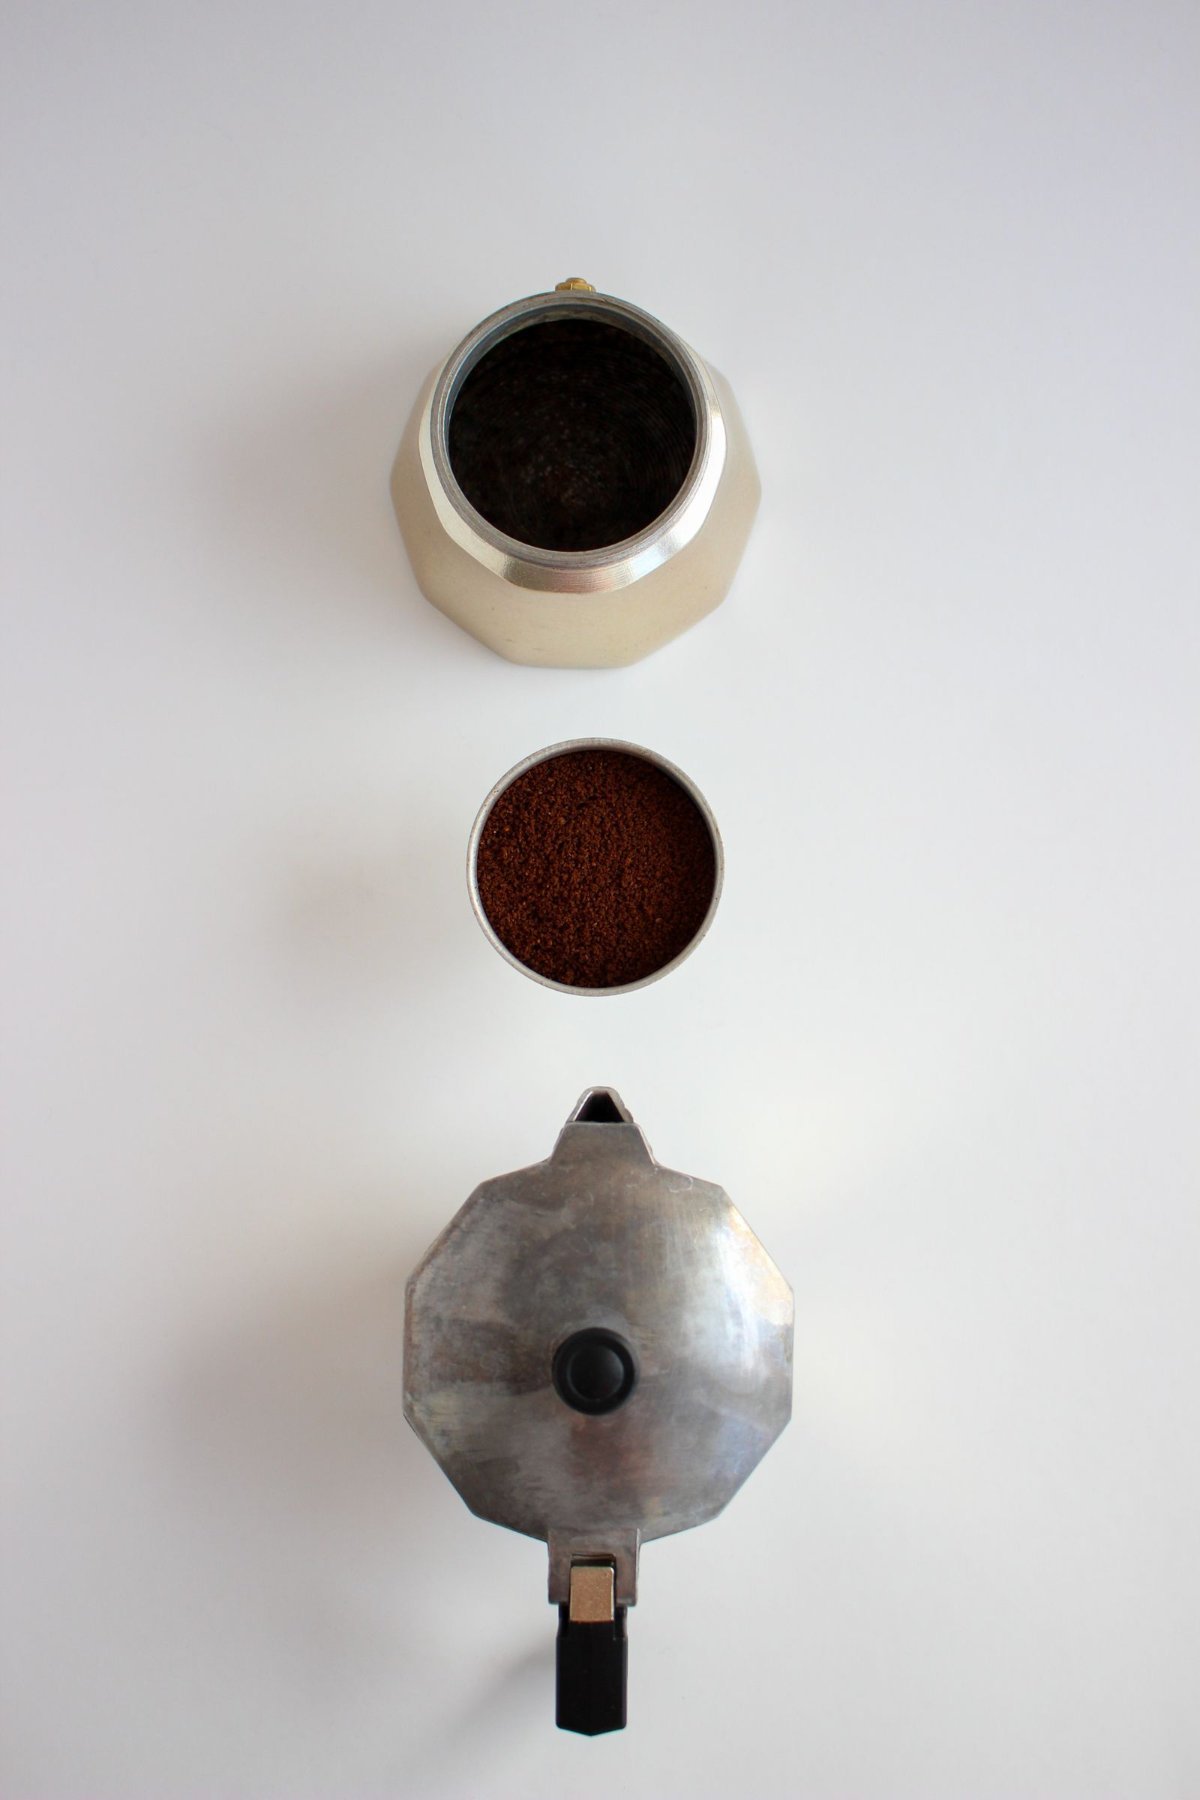
A moka pot is a stovetop brewer made from three main parts: a bottom chamber for water, a filter basket for ground coffee, and an upper chamber where the brewed coffee collects. As the water heats, pressure develops in the lower chamber and pushes the hot water upward through the coffee grounds.
The coffee that comes out is concentrated and full-bodied, but it isn’t technically espresso. Traditional espresso is brewed by forcing water through finely ground coffee at much higher pressure in an espresso machine. Moka pot coffee has its own character, and you can drink it straight or use it as a base for coffee with milk.
The Three Parts You Need to Know
- Bottom chamber: Holds the brewing water and contains the safety valve.
- Filter basket: Holds the ground coffee.
- Upper chamber: Collects the finished coffee.
Knowing what each part does makes the brewing process much easier to understand. When something goes wrong, you can usually trace it back to one of these parts, the grind, or the heat.
How Much Coffee and Water Should You Use?
Moka pots are designed around their basket size, so it’s best to use the basket as intended rather than trying to brew a tiny amount in a large pot. As a rough example, a typical 3-cup moka pot may hold around 150 ml of water and roughly 15–17 grams of coffee, but capacities vary between manufacturers. If your particular model gives you a water or coffee capacity, follow that first, and treat these figures as useful starting points rather than universal specifications.
How to Prepare Your Moka Pot
Before putting the pot on the stove, a little preparation will make the brewing process more predictable. The two things that matter most are the water level and the coffee grind.
Choose the Right Grind
Moka pot coffee generally works well with a grind that’s finer than French press but coarser than espresso. The grounds should feel relatively fine between your fingers, but they shouldn’t resemble the powdery texture commonly used for espresso.
If the coffee is too fine, water may have difficulty moving through the coffee bed. If it’s too coarse, the water can pass through too easily and leave you with a cup that tastes thin. Your grinder will make a difference here, so don’t worry about finding one universal setting. Start somewhere in the middle and adjust after tasting the coffee.
Fill the Bottom Chamber
Remove the filter basket and fill the bottom chamber with water until it reaches just below the safety valve. Don’t cover the valve with water, because it needs to remain unobstructed as part of the moka pot’s safety system.
You can start with room-temperature water, which is the simplest approach, or use hot water. Starting with hot water can shorten the amount of time the ground coffee spends heating while the pot comes up to brewing temperature. If you use hot water, handle the bottom chamber carefully because it will become hot while you’re assembling the pot.
Fill the Coffee Basket
Place the filter basket into the bottom chamber and fill it with your ground coffee. Let the coffee reach the top of the basket, then level the surface gently with your finger or the back of a spoon. Don’t tamp it down.
That’s one of the biggest differences between moka pot brewing and espresso preparation. The moka pot relies on relatively low pressure compared with an espresso machine, so compressing the grounds isn’t necessary and can make it harder for water to pass through the coffee.
How to Brew Coffee in a Moka Pot
Once the pot is filled and assembled, the actual brewing process doesn’t take long. The trick is to use enough heat to get the water moving without turning the final part of the brew into a loud, aggressive boil.
1. Assemble the Moka Pot
Place the filled filter basket into the bottom chamber, then screw the upper section onto it. Check that the filter and rubber gasket are seated properly. You want a good seal, but there’s no reason to force the two sections together as tightly as possible.
2. Put It Over Moderate Heat
Place the moka pot on the stove over medium to medium-low heat. There isn’t one exact burner setting that works for every stove: gas burners, electric cooktops, and induction-compatible moka pots all behave differently, so think of moderate heat as your starting point. If you’re using gas, make sure the flame doesn’t extend far beyond the bottom of the pot.
3. Watch the Coffee Start to Flow
After a few minutes, depending on the size of the pot and your starting water temperature, coffee should begin flowing into the upper chamber. You don’t need to stir it or press anything; just let the brewer work.
The first coffee that enters the upper chamber may look darker, and the flow will usually become lighter and faster toward the end. Keeping an eye on the flow is more useful than following an exact timer because different stoves and moka pots heat at different speeds.
4. Remove It From the Heat Before the Sputtering Gets Aggressive
As the upper chamber fills, listen for the sound of the coffee. When the flow becomes noticeably faster and you start hearing a strong bubbling or sputtering sound, take the moka pot off the burner. You don’t need to force every last drop of water through the coffee.
Leaving it on high heat while the pot sputters can make the coffee taste harsh. Removing it from the burner also stops the brewing process from continuing unnecessarily.
5. Stir and Serve
Once the coffee is in the upper chamber, give it a gentle stir before pouring. The coffee can vary in strength as it enters the chamber, so stirring helps distribute it more evenly.
Serve it immediately, either black or with milk. If you want something closer to a small latte-style drink, you can add warm or steamed milk without needing an espresso machine.

How to Adjust Your Moka Pot Coffee
If your first cup isn’t quite right, don’t change everything at once. Coffee brewing becomes much easier to understand when you make one adjustment, taste the result, and then decide what to change next.
If the Coffee Tastes Bitter or Burnt
Start by looking at the heat and brewing time. Try:
- Lowering the burner temperature.
- Removing the pot from the heat earlier.
- Using a slightly coarser grind.
- Trying a lighter roast if you prefer less intense flavors.
Very dark roasts can naturally produce stronger roasted and bitter flavors, so the coffee itself may also be part of the equation.
If the Coffee Tastes Weak
Weak coffee doesn’t necessarily mean you need more heat. First check whether you’re using a grind that’s too coarse or whether the coffee basket is being underfilled, and make sure you’re using the correct basket for the size of your moka pot.
A slightly finer grind can increase extraction, but make small changes rather than moving all the way toward an espresso-fine grind.
If the Coffee Tastes Sour or Sharp
A sharp, sour taste can sometimes indicate that the coffee hasn’t extracted enough. Try a slightly finer grind and make sure you’re giving the water enough time to pass through the coffee. Your choice of beans also matters, because some lighter roasts naturally have more acidity and brighter flavors. That’s not necessarily a problem: if you enjoy that character, you may not need to change anything.
Don’t Chase One “Perfect” Recipe
There are plenty of moka pot recipes online that give an exact number for every variable. Those recipes can be useful starting points, but your stove, grinder, coffee, water, and moka pot aren’t necessarily the same as someone else’s. A better approach is to establish a consistent starting recipe and make small adjustments based on taste.
Cleaning and Caring for Your Moka Pot
Cleaning a moka pot doesn’t need to be complicated. The main goal is to remove used coffee and keep the brewer dry and free from old residue.
After Each Brew
Once the pot has cooled enough to handle safely:
- Unscrew the upper and lower sections.
- Remove the filter basket.
- Empty the used coffee grounds.
- Rinse the removable parts with water.
- Check the filter and gasket for coffee residue.
- Let the pieces dry completely before storing them.
For many traditional moka pots, especially aluminum models, the manufacturer’s cleaning instructions are more important than generic advice. Follow those instructions if they recommend a particular cleaning method.
Check the Gasket and Filter
The rubber gasket and filter are small parts, but they have an important job. Over time, the gasket can become stiff, worn, or less effective at creating a seal. If you notice coffee or steam escaping around the connection between the two chambers, inspect the gasket and filter. Replacing a worn gasket is a normal part of maintaining a moka pot.
Frequently Asked Questions
Can I use espresso-ground coffee in a moka pot?
You can use beans marketed for espresso, but the grind matters more than the label. An extremely fine espresso grind may restrict the flow, so a grind slightly coarser than traditional espresso is a better starting point.
Should I tamp the coffee in a moka pot?
No. Fill the basket and level the grounds gently, but don’t compress them. Tamping is part of espresso preparation and isn’t necessary for a moka pot.
How long does moka pot coffee take to brew?
It depends on the size of the pot, starting water temperature, stove, and heat setting. A small moka pot may begin producing coffee within several minutes, but watching the flow is more useful than trying to hit one exact brewing time.
Why is my moka pot coffee bitter?
High heat, a very fine grind, prolonged brewing, and a very dark roast can all contribute to bitter flavors. Try lowering the heat or removing the pot from the burner sooner, and change only one variable at a time.
Can I use a moka pot on an induction stove?
Only if the moka pot is designed for induction. Traditional aluminum moka pots generally won’t work directly on induction cooktops, while some stainless-steel models are made specifically for them. Check the manufacturer’s specifications for your model.
Can I make milk drinks with moka pot coffee?
Yes. Moka pot coffee is concentrated enough to work well with milk. You can add warm or steamed milk to make a simple homemade coffee drink, although the result won’t be identical to a drink made with machine-brewed espresso.
Final Thoughts
A moka pot is simple once you understand what it’s designed to do. Use the correct water level, fill the basket without tamping, start with a moderate grind and moderate heat, and remove the pot when the final bubbling becomes aggressive. From there, small adjustments to grind and heat are usually enough to move the coffee closer to the flavor you enjoy.
