
You do not need an espresso machine with a steam wand to add creamy, airy milk to coffee at home. A handheld frother, French press, whisk, or even a simple saucepan can create useful foam for lattes and cappuccinos, although the texture will not be exactly the same as professionally steamed milk.
The key is to heat the milk gently, introduce air without creating huge bubbles, and use the froth soon after making it. Once you understand how each method behaves, it is much easier to choose the one that fits your kitchen.
What Is Frothed Milk?
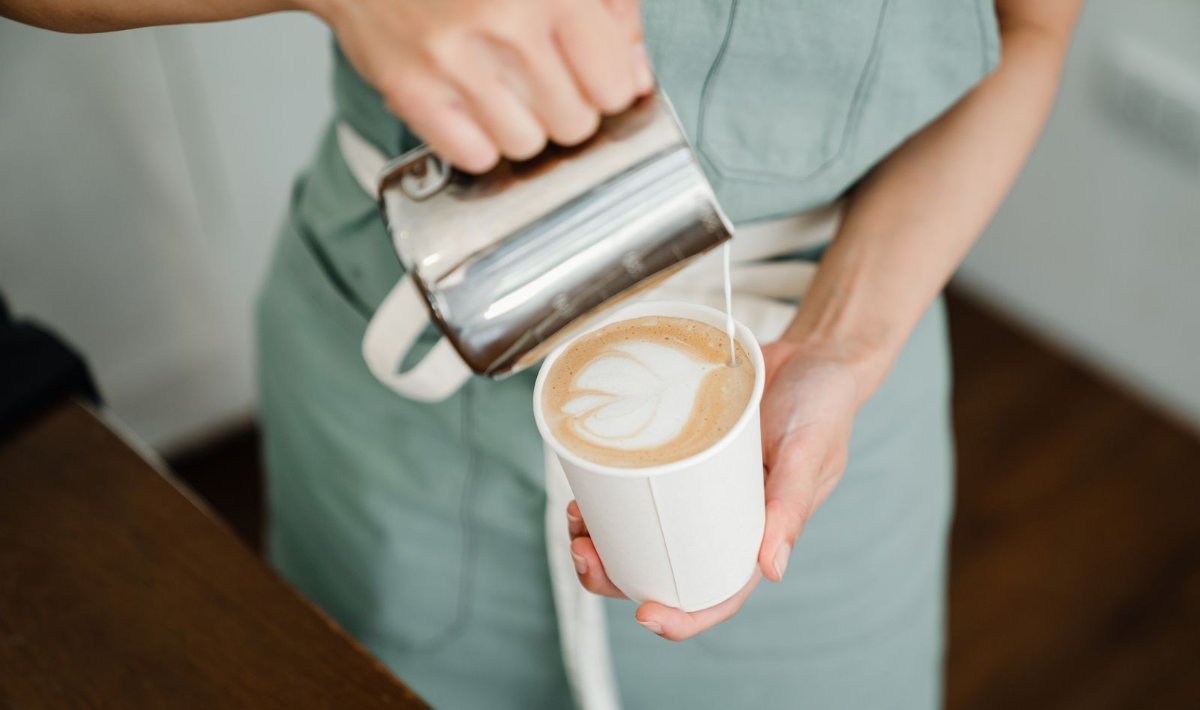
Frothed milk is milk that has had air worked into it, which gives it a lighter, more voluminous texture. With a traditional steam wand, milk is heated while air is introduced through the steam, which can create very fine bubbles and a smooth, glossy texture often called microfoam.
Home frothing methods can produce something similar, but the texture is usually less uniform. Some methods make larger bubbles, while others produce a thicker layer of foam that sits on top of the liquid milk. That is not necessarily a problem: for a homemade latte or cappuccino, the goal is simply a pleasant combination of warm milk and foam.
Frothed Milk vs. Steamed Milk
| Feature | Homemade frothed milk | Steamed milk |
|---|---|---|
| How it is made | Whisked, pumped, or mechanically frothed | Heated and aerated with steam |
| Texture | Can range from airy to creamy | Usually smoother and more uniform |
| Bubble size | Often more noticeable | Can be very fine |
| Best use | Home lattes, cappuccinos, topping coffee | Espresso drinks and latte art |
| Equipment | Can be very simple | Requires a steam-capable machine |
If detailed latte art is the goal, a steam wand has an advantage. If you simply want a creamy homemade coffee, several inexpensive methods can work very well.
Choosing Milk for Frothing
The type of milk affects the result, but there is no single milk everyone has to use.
Dairy Milk
Cow’s milk can produce a creamy, familiar foam and works with all four methods below. Whole milk often feels richer, while lower-fat milk can give a lighter texture. These are general differences rather than guarantees, and the result also depends on temperature and technique.
Plant-Based Milk
Plant milks can also be frothed, but results vary considerably between products. Some create a stable foam, while others produce larger bubbles or separate more quickly. If a particular plant milk does not foam well with one method, a different technique may help.
Keep the Milk Cold Until You Need It
Keep dairy milk refrigerated and use it while it is fresh. Discard milk that smells or tastes off. For the best control, start with cold milk and warm it gently rather than letting it boil.
Four Easy Ways to Froth Milk Without a Steamer
Each of these methods produces a slightly different texture. For all of them, the temperatures below are rough starting points, not exact requirements. A comfortable target for warm-to-hot, non-boiling milk is around 55–65°C (130–150°F), adjusted to your taste and equipment.
1. Handheld Electric Frother
A handheld electric frother is one of the quickest methods. It spins a small whisk inside the milk and introduces air as the milk moves.
- Pour cold milk into a heat-safe container.
- Warm the milk gently until it is warm to hot but not boiling, roughly 55–65°C (130–150°F) as an approximate range.
- Place the frother near the surface of the milk.
- Turn it on and move it gently through the milk, keeping the whisk partly submerged to avoid splashing.
- Continue until the milk has visibly increased in volume and has the amount of foam you want.
- Tap the container gently on the counter if a few very large bubbles remain.
- Spoon or pour the milk over your coffee.
Do not hold the frother completely above the surface while it is running. That creates lots of large bubbles and splashing instead of a smooth foam.
2. French Press Plunger
A French press can act as a surprisingly effective manual frother. If you already own one, our French press guide covers brewing with it. The important safety point here is that hot milk should not be pumped inside a completely sealed container, so keep the lid open or otherwise vented while using the plunger.
- Warm the milk gently in a saucepan or microwave-safe container, aiming for roughly 55–65°C (130–150°F) as a starting range.
- Pour the warm milk into a clean French press, filling it only partway so the milk has room to expand.
- Place the plunger assembly on top, but keep the lid open or otherwise vented.
- Pump the plunger carefully up and down, starting slowly and increasing the pace as the milk becomes foamy.
- Stop when the milk has the texture you want, then pour or spoon it over coffee.
Be careful with both the hot milk and the glass container. Rapid pumping can cause splashing, so controlled movements work better than aggressive ones.
3. Whisk by Hand
A regular whisk can make good foam without any specialized equipment. It takes a little more effort, but it gives you direct control over how much air you add.
- Pour the milk into a saucepan.
- Heat it gently over low to medium-low heat, stirring as it warms.
- Stop heating when the milk is warm to hot but clearly below a boil, around 55–65°C (130–150°F) as a rough target.
- Whisk briskly for several seconds, continuing until the milk develops a layer of fine-to-medium bubbles.
- Remove it from the heat and carefully pour it into your coffee.
You can also warm the milk separately and whisk it in a heat-safe bowl. The whisk method tends to give a somewhat airy foam rather than the very smooth texture of professionally steamed milk, which works especially well when you spoon foam onto a cappuccino-style drink.
4. Immersion (Stick) Blender
If you don’t own a frother, a kitchen stick blender can also aerate milk. It is more powerful than a handheld frother, so it builds foam quickly but needs a deeper container to avoid splashes.
- Warm the milk gently in a saucepan or in the microwave (short intervals, stirring between them) until it is warm to hot but not boiling, roughly 55–65°C (130–150°F).
- Pour it into a tall, heat-safe container, filling it no more than about one-third full.
- Put the blender head fully into the milk before switching it on.
- Blend in short bursts, tilting the container slightly so the head sits just below the surface and pulls in air.
- Switch the blender off before lifting it out of the milk.
- Let the milk rest a few seconds, tap the container to break large bubbles, then pour.
Keep hands clear of the blade, and never switch the blender on above the surface: hot milk can spray out.
What About a Manual Pump Frother?
If you have a manual frother with a pump mechanism, it can work well too. Warm the milk first, then pump according to the design of the frother. Keep the container below its recommended fill level so the milk has room to expand, and follow the instructions for your equipment, particularly whether the lid needs to stay vented during use.
Comparing the Four Methods
| Method | Effort | Foam texture | Main advantage | Common drawback |
|---|---|---|---|---|
| Handheld electric frother | Low | Light and airy to creamy | Fast and convenient | Can create large bubbles |
| French press plunger | Medium | Thick and airy | No dedicated frother required | Requires careful pumping |
| Hand whisk | Medium-high | Airy and slightly rustic | Simple and inexpensive | Takes more effort |
| Immersion (stick) blender | Low-medium | Dense, with some larger bubbles | Uses a common kitchen tool | Splashes easily; needs a tall container |
There is no universal winner. The best method is the one that gives you the texture you enjoy with the equipment you already have.
How to Add the Froth to Your Coffee
Once the milk is ready, the way you add it changes the drink’s texture.
For a Latte-Style Drink
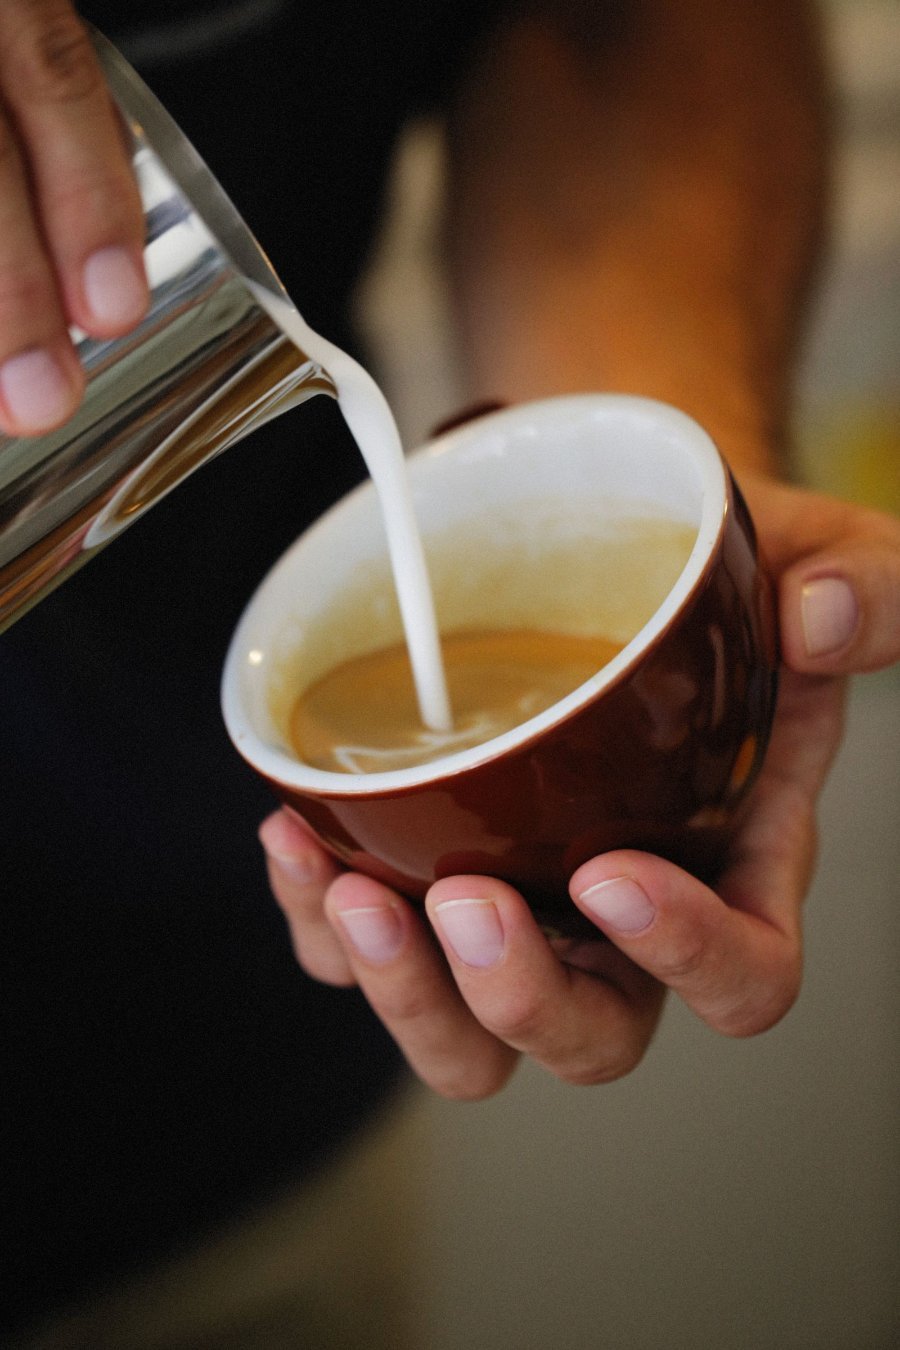
Pour the warm milk slowly into the coffee, holding back some of the thicker foam with a spoon at first. Once most of the liquid milk is in the cup, add the remaining foam on top. The result is usually more milk-forward and less foamy than a cappuccino. Our latte guide has the full recipe.
For a Cappuccino-Style Drink
Use a little less liquid milk and a more generous layer of foam, spooning the thicker foam over the coffee after adding some warm milk. Homemade foam may not have the silky consistency needed for traditional latte art, but it still makes a satisfying creamy topping. See how to make a classic cappuccino at home, or try a smaller drink like a cortado or a flat white.
Troubleshooting Homemade Milk Foam
Large Bubbles
Large bubbles usually mean too much air was introduced too quickly. Keep the frother or whisk close to the surface without breaking completely through it, and use gentle movements rather than vigorous whipping. You can also tap the container lightly on a stable surface to break up a few larger bubbles.
The Foam Is Too Thin
Try introducing air for a little longer, or make sure the milk is properly warmed. With a whisk, increase the action gradually, and with a French press, controlled pumping helps build more foam. Plant milks can behave differently, so the same technique may not give the same result with every type.
The Milk Tastes Scorched or Has Boiled Over
The milk was likely heated too aggressively. Lower the heat and watch it closely. Milk does not need to boil for frothing, and boiling can make the texture and flavor less pleasant. In a microwave, use shorter intervals and stir between them.
The Foam Collapses Quickly
Some foam naturally collapses faster than other foam. Serve the drink soon after frothing and avoid introducing lots of large bubbles. If the foam repeatedly disappears almost immediately, try a different milk or method.
The Milk Is Too Hot
Stop heating as soon as the milk reaches a comfortably hot, non-boiling stage. Do not rely only on touching the container to judge temperature, because the container may feel different from the milk inside. A thermometer can help with consistency, but the ranges here are approximate starting points.
Hot Milk Safety Tips
Hot milk needs a little more care than cold foam.
- Heat milk gently and never let it boil over or scorch.
- Use heat-safe containers.
- If you use a microwave, use a microwave-safe container, heat in short intervals, and stir between them.
- Remember that both the container and the milk can become very hot, so handle them carefully.
- Never shake hot or warm milk in a sealed jar. Pressure can build and cause the lid to burst.
- Whisk, pump, or froth hot milk only with open or appropriately vented tools.
- Keep hot liquids away from children.
- Refrigerate dairy milk promptly, and discard milk that smells or tastes off.
Cold foam is a different preparation and can be made without heating the milk at all. Our guide to making cold foam at home covers those methods.
Frequently Asked Questions
Can I froth milk without an espresso machine?
Yes. A handheld frother, French press plunger, whisk, stick blender, or manual pump frother can all work air into milk without a steam wand.
What temperature should milk be for frothing?
A useful starting range is roughly 55–65°C (130–150°F), but this is approximate. The ideal temperature depends on the milk, your equipment, and your taste.
Can I froth plant milk?
Yes, although results vary between different plant milks. Some produce a stable foam, while others stay relatively thin or develop larger bubbles.
Can I froth milk in a sealed jar?
Do not shake hot or warm milk in a sealed jar. Pressure can build as the liquid and air heat up, which can make the lid burst.
Why does my homemade foam have bigger bubbles than cafe foam?
Home methods generally do not create exactly the same fine texture as a steam wand. Adding air more gradually and avoiding aggressive whipping can help produce smaller, more pleasant bubbles.
Can I use a French press to froth hot milk?
Yes, but use it carefully. Keep the lid open or vented while pumping, leave room for the milk to expand, and use controlled movements to reduce splashing and pressure risks.
Final Thoughts
Making frothy milk at home does not require a steam wand or a complicated setup. A handheld frother is quick, a French press can double as a manual frother, a whisk needs almost no equipment, and a stick blender works well when you need foam quickly.
The texture will not always match professionally steamed microfoam, and that is perfectly fine. For homemade lattes and cappuccinos, the important part is finding a method that produces warm, creamy milk and foam you enjoy. Keep the milk below a boil, work carefully with hot liquids, and make small adjustments when the foam is too thin, too bubbly, or unstable.
