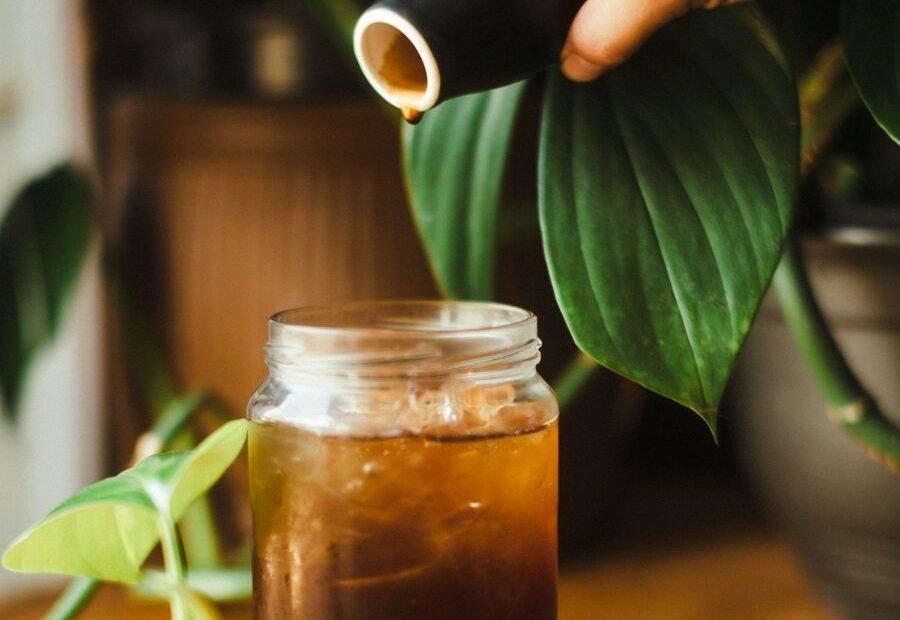
Cold brew is one of the easiest coffee drinks to prepare ahead of time. You combine coffee and water, let them steep for several hours, filter the grounds, and you’re ready to serve. The tricky part is getting the balance right: too little coffee can taste thin, while too much time or an overly fine grind can make the result heavy. This guide gives you a simple starting recipe and explains how to adjust the ratio, grind, and steeping time until the coffee tastes right to you.
What Is Cold Brew Coffee?
Cold brew is coffee made by steeping ground coffee in cool or room-temperature water for an extended period instead of extracting it quickly with hot water. After the coffee has steeped, the grounds are filtered out and the finished coffee is chilled or served over ice.
It’s different from iced coffee, even though both are served cold. Iced coffee is generally brewed with hot water and then cooled, while cold brew is extracted at a much lower temperature from the beginning.
That slower extraction gives cold brew a different character. Depending on the coffee and recipe, you may notice a rounder body and a softer flavor compared with some hot-brewed coffees. The exact result still depends on the beans, roast, grind, water, ratio, and brewing time.
There’s no single cold brew recipe that everyone has to follow. A 1:10 ratio is a useful place to start for a ready-to-drink batch, while stronger recipes can be made as concentrates and diluted later.
The Right Coffee-to-Water Ratio
The ratio tells you how much coffee you’re using compared with the amount of water. It’s one of the easiest ways to make your cold brew recipe repeatable. (For a deeper look at the idea, see our guide to the coffee-to-water ratio.)
For a straightforward ready-to-drink cold brew, start with:
- 100 g coffee
- 1,000 g water
- 1:10 coffee-to-water ratio
This makes a ready-to-drink cold brew that can be served over ice, with a splash of water or milk if you want it lighter.
If you prefer to make a stronger concentrate, try:
- 100 g coffee
- 500–700 g water
- Approximately 1:5 to 1:7 ratio
A concentrate is intended to be diluted before drinking, so don’t compare its strength directly with a ready-to-drink 1:10 recipe.
How to scale the recipe
Once you’ve chosen a ratio, you can easily make a smaller or larger batch.
| Coffee | Water | Ratio |
|---|---|---|
| 50 g | 500 g | 1:10 |
| 75 g | 750 g | 1:10 |
| 100 g | 1,000 g | 1:10 |
| 150 g | 1,500 g | 1:10 |
A kitchen scale is particularly useful here. Measuring coffee by volume can be inconsistent because whole beans and ground coffee don’t all have the same density. For your first batch, it’s better to keep the ratio simple and change only one variable at a time afterward.
How to Make Cold Brew at Home
You don’t need a special cold brew machine. A large jar, pitcher, or brewing container works perfectly well as long as it’s clean and large enough to hold the coffee and water.
What you’ll need
For approximately 1 liter of cold brew:
- 100 g coffee beans
- 1,000 g filtered water
- Coffee grinder
- Large jar or pitcher
- Spoon
- Fine-mesh strainer
- Paper coffee filter or clean coffee-filtering cloth
- Covered container for storage
For a beginner-friendly recipe, choose a coffee with a medium or medium-dark roast. Darker coffee can give you a heavier, more pronounced result, while lighter roasts can bring brighter fruit or floral notes. Neither is automatically better; it mostly comes down to the flavors you enjoy.
1. Grind the coffee
Grind the 100 g of coffee coarse, roughly similar to the grind you would use for a French press. The long contact time means you don’t need a fine grind to extract flavor. Very fine grounds can make filtering harder and may leave more sediment in the finished coffee.
If you’re using a grinder with adjustable settings, start coarse and make a note of the setting. Keeping track of what you used makes the next batch much easier to adjust.
2. Combine the coffee and water
Put the ground coffee into your brewing container and slowly add the 1,000 g of water. Make sure all the grounds become wet. Some grounds may float, so use a spoon to gently stir the mixture for about 10–15 seconds.
You don’t need to vigorously agitate the coffee. The goal is simply to distribute the grounds evenly throughout the water.
3. Cover and steep
Cover the container and let the coffee steep for approximately 12–16 hours. For a first batch, around 14 hours is a useful starting point. You can brew at room temperature or in the refrigerator, but keep your method consistent when comparing results because temperature affects how quickly extraction takes place.
If you prefer a lighter result, try the shorter end of the range. If you want a stronger, heavier cup, you can experiment with a longer steep.
4. Filter the coffee
When the steeping time is finished, separate the grounds from the liquid.
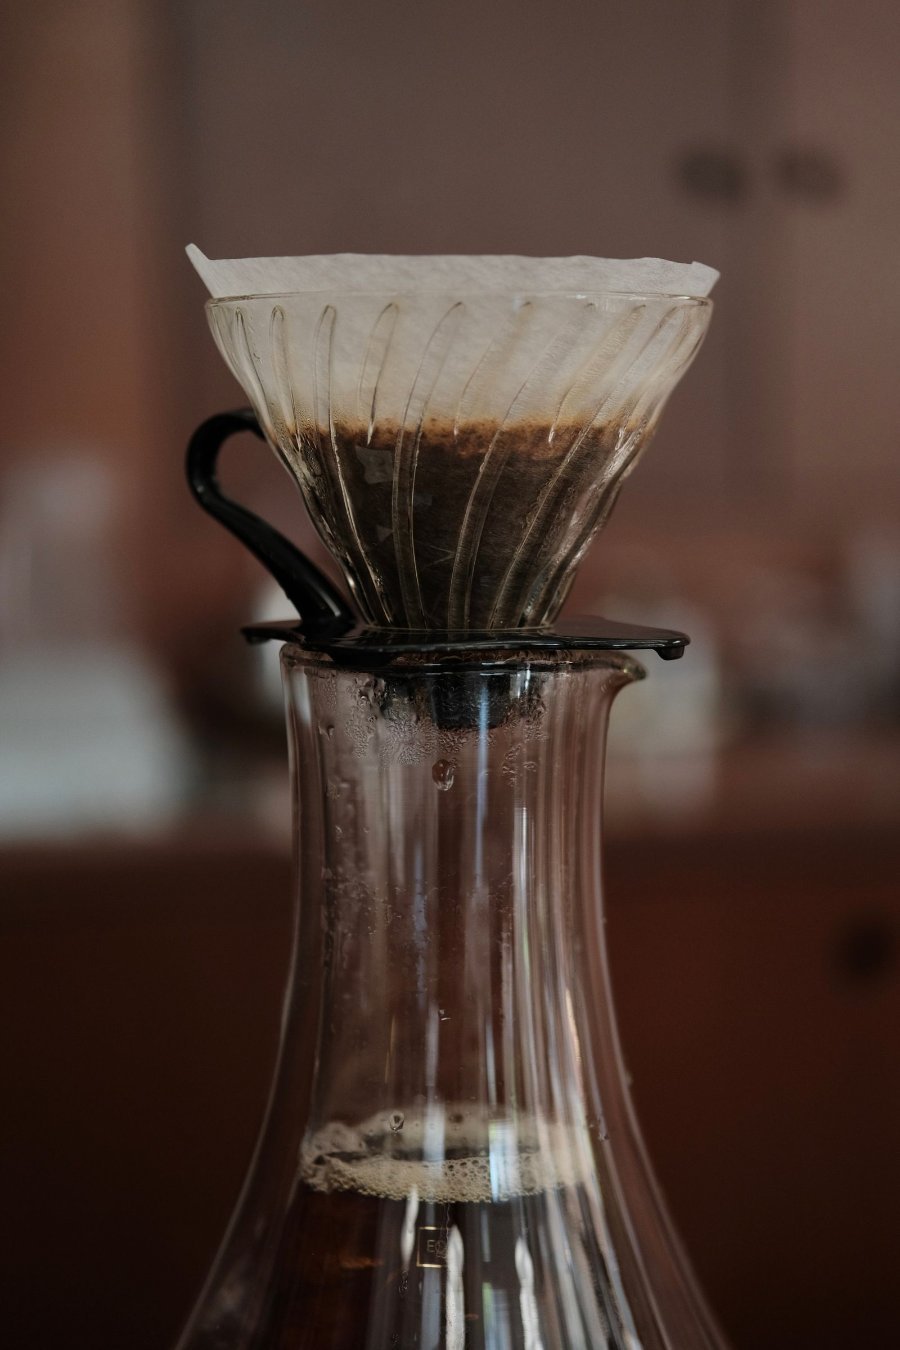
Start with a fine-mesh strainer to remove the larger particles. Then pass the coffee through a paper coffee filter if you want a cleaner, smoother-looking drink with less sediment.
Filtering can take a few minutes, especially if the coffee contains lots of fine particles. Don’t squeeze the grounds aggressively just to make the process faster, as that can push more sediment through the filter.
5. Chill and serve
Transfer the filtered coffee to a clean container and refrigerate it. To serve, fill a glass with ice and pour the cold brew over it. Taste it before adding anything else.
If it’s too concentrated for you, add 30–60 ml of cold water and taste again. You can also add milk if you prefer a softer, creamier drink.

How Grind Size and Time Change the Result
Ratio isn’t the only thing that matters. Grind size and steeping time work together, so changing either one can affect how the coffee tastes. A coarse grind is a good starting point because it makes the coffee easier to filter and gives you plenty of control over a long extraction. (If you want more background, here’s why grind size matters.)
If the coffee tastes weak even after following the recipe, don’t immediately grind much finer. First consider whether you need more coffee, a slightly longer steep, or less water.
What happens with different steeping times?
As a general starting point:
- 10–12 hours: lighter extraction
- 12–16 hours: balanced range for many recipes
- 16–18 hours: stronger and heavier
- 18–24 hours: increasingly intense and potentially overdone, depending on the coffee
These ranges aren’t absolute. A batch brewed with room-temperature water won’t behave exactly like one brewed in the refrigerator. The important thing is to choose a starting point, taste the result, and make a small adjustment next time.
Room temperature or refrigerator?
Both methods are possible. Room-temperature water allows extraction to happen more quickly, while refrigerator brewing slows the process. If you’re brewing in the refrigerator, you may find that the same number of hours produces a different strength than a room-temperature batch.
Rather than worrying about which method is “correct,” pick one and keep it consistent while you’re dialing in your recipe.
How to Adjust Your Cold Brew
The best way to improve a recipe is to change one variable at a time. If you increase the coffee, change the grind, double the steeping time, and add more water all at once, you won’t know which adjustment made the difference.
If your cold brew tastes weak
Try one of these on the next batch:
- Increase the coffee from 100 g to 110–120 g.
- Reduce the water slightly.
- Extend the steep by 1–2 hours.
- Make sure the coffee is ground consistently.
Increasing the coffee is often the simplest adjustment because it preserves the rest of your recipe.
If it tastes too strong
You don’t necessarily need to throw out a strong batch. Add cold water gradually, starting with 30–60 ml, and taste after each addition. If you regularly find yourself diluting the coffee quite a lot, make the next batch with a higher water ratio.
If it tastes bitter or harsh
Try shortening the steeping time by a couple of hours. You can also experiment with a slightly coarser grind. The coffee itself matters, too. A very dark roast can produce a bold, heavy cold brew, while a medium roast may give you a different balance.
If it tastes too sharp
Some coffees naturally have brighter acidity, especially lighter roasts. If you don’t enjoy that character in cold brew, try a different coffee or adjust the brewing time slightly. There’s no need to treat one flavor profile as universally correct. The right cold brew is the one that tastes good to you.
Common Cold Brew Mistakes
Cold brew is forgiving, but a few habits can make the process harder than it needs to be.
Using a fine grind
Fine grounds can make the coffee difficult to filter and leave a lot of sediment behind. Start coarse and adjust gradually if the extraction seems too weak.
Measuring coffee by volume
“Scoops” and cups aren’t very precise because coffee density varies. Weighing both the coffee and water gives you a repeatable recipe.
Steeping indefinitely
Longer isn’t automatically better. Leaving coffee in contact with water for an excessive amount of time can produce a flavor that’s heavier than you intended. Start around 14 hours and adjust from there.
Filtering only once
A mesh strainer removes larger grounds, but tiny particles can still pass through. If you prefer a cleaner drink, follow the strainer with a paper coffee filter.
Diluting without tasting
If you’re making a concentrated recipe, don’t automatically add a fixed amount of water. Taste the coffee first, then dilute it gradually until it reaches the strength you like.
How to Store Homemade Cold Brew
After filtering, keep your cold brew in a clean, covered container in the refrigerator. A glass bottle or sealed pitcher works well because it limits exposure to the surrounding refrigerator odors. It’s also easier to pour from a covered container without disturbing the coffee.
Instead of relying on one universal storage time, pay attention to how the coffee changes. If the aroma, flavor, or appearance becomes noticeably different, that’s a good reason to stop using the batch. Store the cold brew black and add milk or cream only when you pour a glass, keep it in the refrigerator rather than on the counter between servings, and if you’re unsure whether a batch is still good, discard it. Making smaller batches can also be a practical solution if you only drink cold brew occasionally.
Frequently Asked Questions
How long should cold brew steep?
A good starting range is 12–16 hours, with around 14 hours being a practical middle point. You can shorten or extend the time depending on how strong you want the finished coffee.
What is the best coffee-to-water ratio for cold brew?
For ready-to-drink cold brew, 1:10 is a useful starting point, such as 100 g coffee to 1,000 g water. Stronger concentrates can use ratios around 1:5 to 1:7 and then be diluted.
Should cold brew be made in the refrigerator?
It can be brewed in the refrigerator, but room-temperature brewing is also common. Because temperature changes extraction speed, keep your method consistent when adjusting your recipe.
Can I use pre-ground coffee for cold brew?
Yes, although freshly ground coffee gives you more control over grind size and can provide a more consistent result. If using pre-ground coffee, look for a coarse grind rather than a fine espresso-style grind.
Why is my cold brew bitter?
A long steep, very fine grind, or a particularly dark roast can contribute to a heavy or bitter-tasting result. Try a shorter brew time or slightly coarser grind on your next batch.
Do I need to dilute cold brew?
Not always. A 1:10 recipe may be enjoyable directly over ice, while a stronger concentrate generally needs water or milk. Taste it first and dilute gradually.
Final Thoughts
Making cold brew at home is mostly about finding a balance between coffee, water, grind size, and time. Start with 100 g of coarse-ground coffee, 1,000 g of water, and around 14 hours of steeping, then make small changes based on the flavor you get. Once you find a combination you like, write it down and repeat it—the easiest cold brew recipe is the one you can make consistently.
