Homemade coffee syrups are a simple way to add sweetness and flavor to lattes, iced coffee, and cold brew without keeping a long list of ingredients around. The basic method starts with simple syrup, then builds into vanilla, cinnamon, and caramel versions. This guide covers the measurements, cooking methods, storage, and small adjustments that make each syrup easier to use at home. Caramel involves very hot sugar, so read the safety notes in that section before you start.
Start With a Basic Simple Syrup
The foundation for most homemade coffee syrups is simple syrup: sugar dissolved in water. A 1:1 ratio by weight is an easy starting point because it produces a syrup that is sweet but still fluid enough to mix into hot or cold coffee.
Basic Simple Syrup
This makes roughly 300 ml, a little less once some of the water evaporates during heating.
- 200 g granulated sugar
- 200 g (about 200 ml) water
How to Make It
- Add the sugar and water to a small, heavy-bottomed saucepan.
- Heat over medium-low heat.
- Stir gently until the sugar has completely dissolved.
- Once the mixture is clear and uniform, remove it from the heat.
- Let it cool before transferring it to a clean container.
There is no need to boil a basic simple syrup hard. The goal is simply to dissolve the sugar. For a thinner syrup, use slightly more water; for a thicker one, slightly more sugar, although very concentrated syrups are harder to pour and can crystallize more easily.
How Much Syrup Goes Into Coffee?
As a starting point, use about 10 to 20 ml of syrup per drink: around 10 ml for a lightly sweetened cup, 15 ml for moderate sweetness, and 20 ml for a noticeably sweet one. These amounts are only starting points, because the sweetness of the coffee, milk, ice, and other ingredients changes how much syrup tastes right.
Vanilla and Cinnamon Coffee Syrups
Once the basic syrup makes sense, the flavored versions are mostly about adding one ingredient that can infuse the sugar and water.
Homemade Vanilla Syrup
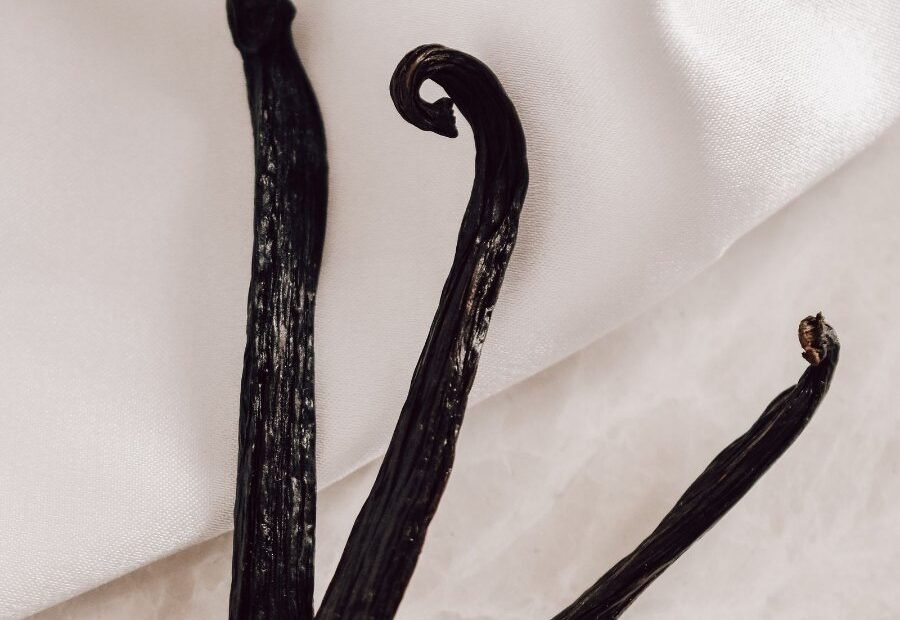
Vanilla can be added in two simple ways: with a real vanilla bean or with a small amount of vanilla extract. Both versions start from the same base of 200 g sugar and 200 ml water.
Method With a Vanilla Bean
You will need 1 vanilla bean, split lengthwise.
- Add the sugar, water, and split vanilla bean to a saucepan.
- Heat gently while stirring until the sugar dissolves.
- Let the mixture simmer very gently for a few minutes, then remove from the heat.
- Leave the vanilla bean to steep in the syrup while it cools.
- Remove the bean and transfer the syrup to a clean, sealed container.
The longer the bean stays in the warm syrup, the more pronounced the vanilla character can become.
Method With Vanilla Extract
Vanilla extract is easier to use because it needs no infusion period. You will need about 5 ml.
- Prepare the basic syrup with the sugar and water.
- Remove the saucepan from the heat and let the syrup cool slightly.
- Stir in the 5 ml of vanilla extract.
- Transfer to a clean, sealed container once it has cooled.
Adding the extract after cooking helps preserve its aroma. The amount is a matter of taste, so adjust it next time if you want more or less. Vanilla should complement the coffee rather than overpower it.
Homemade Cinnamon Syrup
Cinnamon syrup is made by gently simmering cinnamon sticks in the basic syrup. You will need 200 g sugar, 200 ml water, and 2 cinnamon sticks.
- Add the sugar, water, and cinnamon sticks to a saucepan.
- Heat over medium-low heat and stir until the sugar dissolves.
- Simmer gently for about 5 to 10 minutes, then remove from the heat.
- Let the cinnamon keep infusing as the syrup cools.
- Remove the cinnamon sticks and transfer the syrup to a clean, sealed container.
Cinnamon intensity depends on the type and size of the sticks and how long they stay in the syrup. If the flavor is too strong, shorten the infusion time next batch rather than diluting the finished syrup with water.

How to Make Homemade Caramel Syrup
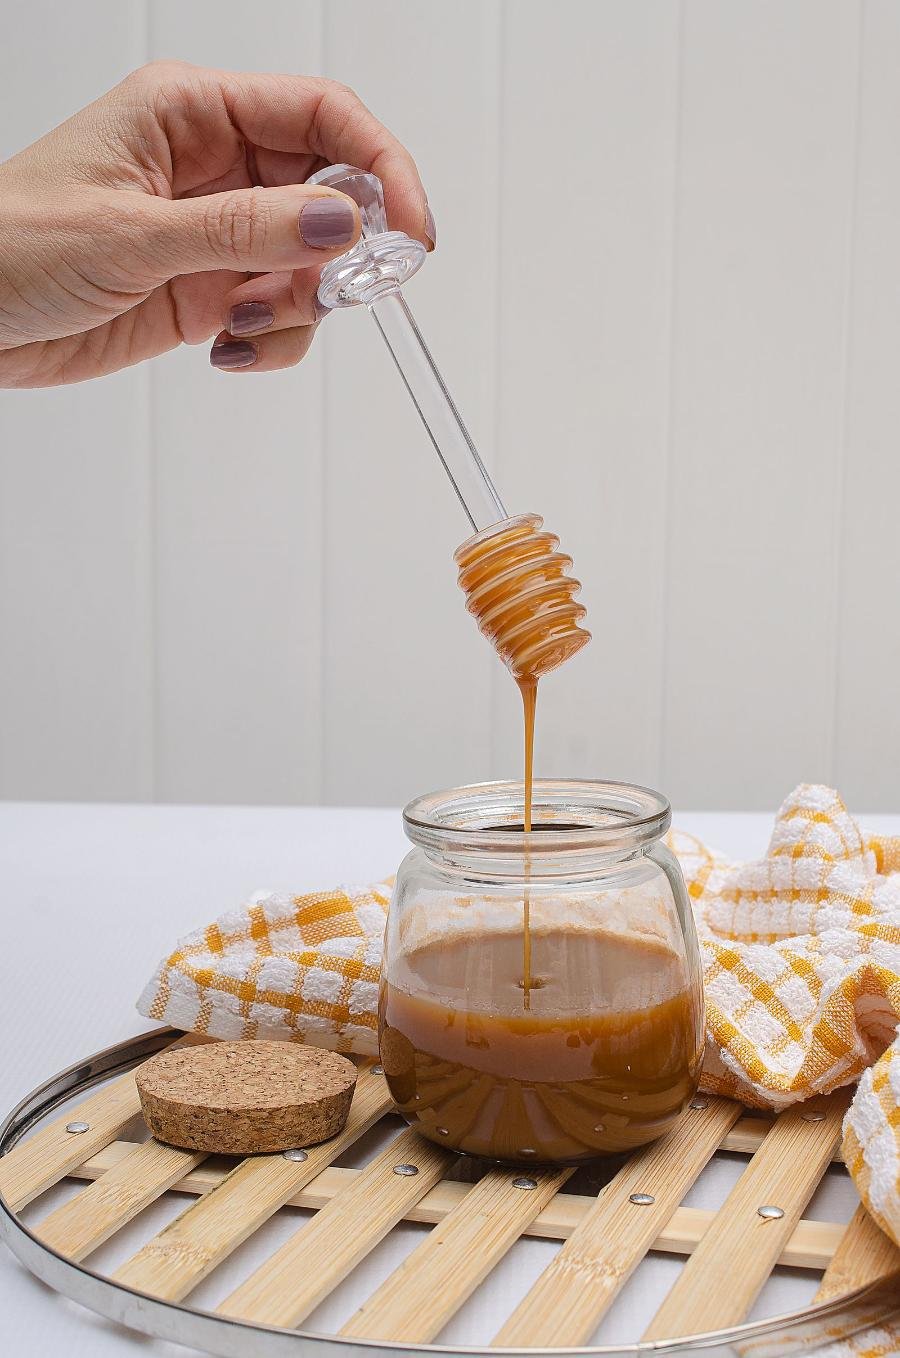
Caramel is the most delicate syrup in this guide, because sugar changes a great deal when it is heated. Instead of simply dissolving the sugar, you first let it caramelize, then carefully add water to turn it into a pourable syrup. It makes roughly 250 ml.
What You Need
- 200 g granulated sugar
- 120 ml water, divided into two portions: about 60 ml to start and about 60 ml of hot water at the end
Step-by-Step Method
- Add the sugar and about 60 ml of water to a heavy-bottomed saucepan.
- Heat over medium heat, stirring gently at the start until the sugar is evenly moistened.
- Once the mixture starts bubbling, avoid unnecessary stirring and watch the color carefully.
- Continue cooking until the sugar turns golden amber, then remove the pan from the heat.
- Standing back from the pan, add the remaining 60 ml of hot water in small amounts. Expect vigorous bubbling and possible splattering.
- Once the bubbling settles, stir carefully until the caramel and water form a smooth syrup.
- Let it cool before transferring it to a clean, sealed container.
Why Add the Water So Carefully?
Caramelized sugar is extremely hot. When water meets it, the temperature difference can cause violent bubbling and splattering. A few habits keep this safer:
- Use a heavy-bottomed saucepan with plenty of room for bubbling.
- Keep children away from the stove while you make caramel, and never leave the pan unattended.
- Keep your face and hands away from the pan when you add the hot water, and add it gradually rather than all at once.
- Use hot water for the final addition to reduce the temperature shock.
- Do not touch or taste the caramel while it is hot.
- If hot sugar gets on your skin, treat it as a serious burn and seek medical attention.
A heavy pot also helps because it spreads the heat more evenly and gives you better control over the caramelization.
How Dark Should the Caramel Be?
Color is a useful visual guide. Light golden caramel has a mild character, golden amber has a deeper caramel flavor, and dark amber tastes stronger and more bitter. Very dark or black caramel is likely burnt. The sugar keeps cooking from residual heat after the pan leaves the stove, so it is better to stop slightly before the color you actually want.
How to Use Homemade Syrups in Coffee
The easiest approach is to add the syrup where it will dissolve thoroughly. Here are three starting points, all with 10 to 20 ml of syrup per drink.
In a Hot Latte
For one latte, use 30 to 60 ml of espresso, 150 to 200 ml of steamed milk, and the syrup. Add the syrup to the hot espresso and stir before adding the milk, so the sweetness spreads evenly instead of sitting at the bottom of the cup. No espresso machine? See our guide to making a latte without an espresso machine.
In Iced Coffee
For one drink, use 150 to 200 ml of chilled coffee, 100 to 150 g of ice, and the syrup, plus milk if you like. Add the syrup to the coffee before pouring it over the ice, or mix it with a little warm coffee first if it is not dissolving easily. Cold liquids make thick syrups slower to mix, so stir well. Our iced coffee recipe and iced latte guide are good places to start.
In Cold Brew
For one glass, use 150 to 200 ml of cold brew, 100 to 150 g of ice, and the syrup, with milk as an option. Vanilla and caramel suit a sweeter, dessert-style coffee, while cinnamon adds a warmer flavor without needing extra spices in the glass. If you have not made it yet, here is how to make cold brew at home. Adjust the syrup to the strength and sweetness of your coffee.
Other drinks that pair well with these syrups include our homemade caramel macchiato and pumpkin spice latte.
Storing Homemade Coffee Syrups
Homemade syrups contain water and are not as shelf-stable as commercially made ones, so a few habits matter:
- Let the syrup cool a little before sealing it. Very hot syrup can crack a cold glass jar, so let it cool in the pan first.
- Use a clean container with a tight-fitting lid, and keep it in the refrigerator.
- Use clean utensils when serving, and avoid leaving the container open longer than necessary.
As a general guideline, homemade syrups are best used within about one to two weeks, but this is not a precise shelf-life guarantee. Storage conditions, cleanliness, ingredients, and handling all affect how long a syrup stays good. Discard it if it turns cloudy when it was previously clear, shows mold, becomes fizzy or smells fermented, smells off, or simply looks or smells different from when it was fresh. When in doubt, throw it out.
Troubleshooting Homemade Coffee Syrups
Small problems are common when working with sugar at higher temperatures.
| Problem | Likely cause | What to try |
|---|---|---|
| Crystallized syrup | Sugar crystals formed during or after cooking | Make sure the sugar dissolves completely and avoid unnecessary stirring once the syrup is hot |
| Too thin | Too much water or too little reduction | Simmer briefly to reduce it, watching so it does not get too concentrated |
| Burnt caramel | Sugar was heated too far | Start again and take the caramel off the heat at a lighter amber stage |
| Weak flavor | Too little flavoring or too short an infusion | Add more vanilla, use another cinnamon stick, or let the cinnamon infuse longer |
If Your Syrup Crystallizes
Crystallization happens when dissolved sugar comes out of solution and forms crystals. Make sure the sugar dissolves completely and avoid stirring too much once the mixture is hot. If it keeps happening, the recipe may simply be too concentrated for the way you are preparing it, and a slightly less concentrated syrup can be easier to handle.
If Your Caramel Tastes Burnt
Burnt caramel has a harsh, bitter character that adding water will not fix. The better answer is a new batch that stops earlier. Watch the color closely, because sugar can move from amber to very dark surprisingly quickly.
Easy Ways to Customize Your Syrups
Once the basic technique feels comfortable, small changes create different flavors without complicating the recipes. For vanilla, try more or less extract, a bean infusion, or a slightly lighter syrup for iced drinks. For cinnamon, one stick gives a gentler flavor and two or more give a stronger one, and a shorter or longer infusion changes it further. For caramel, a light amber gives a softer flavor, a deeper amber gives a more pronounced roasted-sugar character, and using a smaller amount in the cup makes a less sweet drink.
Remember that the syrups themselves add sugar to the drink. Using less syrup is the simplest way to reduce sweetness while keeping some of the flavor. For more ideas on how coffee drinks are built, see coffee drinks explained.
FAQ
How much homemade syrup should I add to coffee?
Start with about 10 to 20 ml per drink and adjust from there. The right amount depends on the coffee, milk, ice, and how sweet you like your drink.
Can I use vanilla extract instead of a vanilla bean?
Yes. Stir the extract into the syrup after cooking. About 5 ml is a useful starting point for a batch made with 200 g sugar and 200 ml water.
Why does my caramel syrup become hard or grainy?
Sugar can crystallize if conditions allow crystals to form during or after cooking. Make sure the sugar dissolves properly and avoid unnecessary stirring once the syrup is hot.
Can I use these syrups in iced coffee?
Yes. Vanilla, caramel, and cinnamon syrups all work in iced coffee and cold brew. Mix the syrup thoroughly before serving, because cold liquids make thicker syrups slower to dissolve.
How long does homemade coffee syrup last?
As a general guideline, about one to two weeks when kept refrigerated in a clean, sealed container. There is no precise shelf-life guarantee, so discard anything that becomes cloudy, moldy, fizzy, or off-smelling.
Is homemade coffee syrup very sweet?
The syrup is concentrated and adds sugar to the drink. Starting with 10 ml and adjusting upward is an easy way to control the sweetness.
Final Thoughts
Making coffee syrup at home is mostly about controlling heat and finding a sweetness level that works for your coffee. A simple 1:1 syrup gives you a useful starting point, while vanilla, cinnamon, and caramel add different layers of flavor with only a few extra ingredients. Once the basic method is familiar, adjusting the strength and sweetness gets much easier, and a small batch can turn an ordinary latte, iced coffee, or cold brew into something a little more special.
